Utility Support – Introduction
A game of DOTA 2 begins with 10 players per match. Participants can be drafted together by the game’s system from across the region or the whole world. Play with random strangers or queue with your friends. Knowing who you fight with can give you more time to just focus on who you are up against.
DOTA 2 – Utility Support – Position 4
The 10 players drafted for a match are divided into two factions: the Dire and Radiant. These opposing forces are connected by roads called ‘lanes’. Each group is composed of 5 members, each must fulfil a certain role. No role should be ignored and no one role should be repeated. The positions are numbered from 1 through 5 based on farm priority. The first 3 positions are the ‘Cores’ and each one of them takes a lane. The last two are expected to support the three cores in securing lanes or taking objectives.
You are Position number 4, the Utility Support. You are expected to take items that benefit the entire team in terms of survival, push, or kills. As time progresses, time will come when you have to decide whether your team needs more field control or another killer. As position 4, you can be flexible between support and carry.
Goal
You are the Position 4 hero, tasked to assist either one of three carries stationed at each lane at any given time. You are free to wander as you please so long as you fulfil the following responsibilities:
- Sustain lanes. The three carries will find themselves on the defensive from time to time. You must visit and help push away enemy attacks. Keep the carries alive, their death could take away so much time and money.
- Push lanes. Neither you nor the carries can take objectives alone. Go when it is time to press the offensive. Put the pressure on the opponents’ side to give room for yourself and the carry to farm in the jungle.
- Fill the gap. Pay attention to hero matchups. If your team has trouble in a clash or securing kills, you can build your hero into full Hard Support in the late game. If your team has the upper hand in the mid-game or you have a highly skilled Position 5 ally, end the game quickly by becoming the 4th carry.
Position 1 handles the safe lane, Position 2 stands in the middle, and Position 3 guards the hard lane. You are Position 4 and the jungle is your domain. Stay vigilant, move swiftly to aid allies at a moment’s notice. Your presence decides the fate of the early game.
Basics
You might think that utility heroes stay deep in the jungle to avoid combat. The truth is, you will be the one who rushes towards the clash to assist your allies. Carries cannot always win against their opponents. Your job is to help sustain the lane or help push for the objective.
The jungle is a great place to roam because you will be far enough from sharing the spoils from lane creeps while close enough to rush in and cover each of the three lanes. Enemies will not have any idea where you are all the time because you are always missing from the map.
Lane
There are three lanes that connect the Dire and Radiant. These lanes are protected by three sets of towers, each set closer to the home base is stronger than the other. One lane is called ‘safe’ because the point where creeps meet is closer to the allied tier 1 tower. The hard lane is labelled as such because the lane creeps meet closer to the enemy’s tower. The middle is a common ground where everything is equal.
The Hard Carry takes the safe lane with Hard Support because they need to make money. The second Carry takes the middle lane alone as much as possible to grow rapidly in terms of experience. At the start of the game, you can join the Offlaner to face off against the enemy Hard Carry and Support. Offlane heroes can often fend for themselves but they can only do so much so early in the game.
Rob the enemy of creep kills by killing off your own forces in a process called ‘deny’. You should really let your Offlaner take the creep kills but you would need items before you face off against neutral camps.
Roam
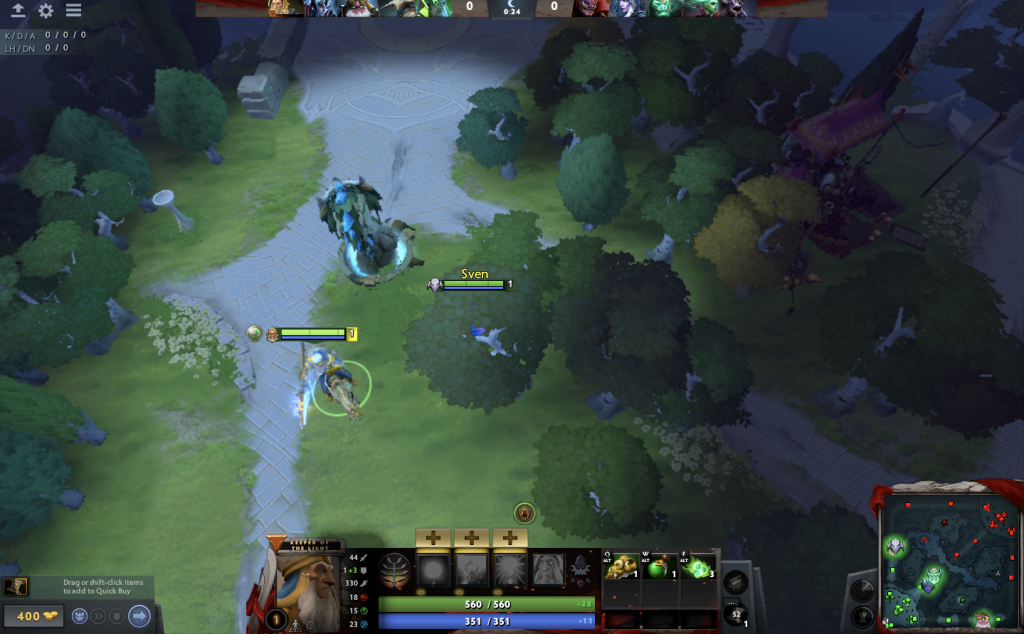
You can take to the jungle early. Don’t worry about leaving lanes, your teammates can handle themselves. Your job starts by saving up money for early utility items such as mana and health regeneration. Bounty Runes spawn every five minutes starting at 0:00 of the game clock. You should take that first before you head for the lanes. Take all bounty runes if you can help it because these things give money to all your allies.
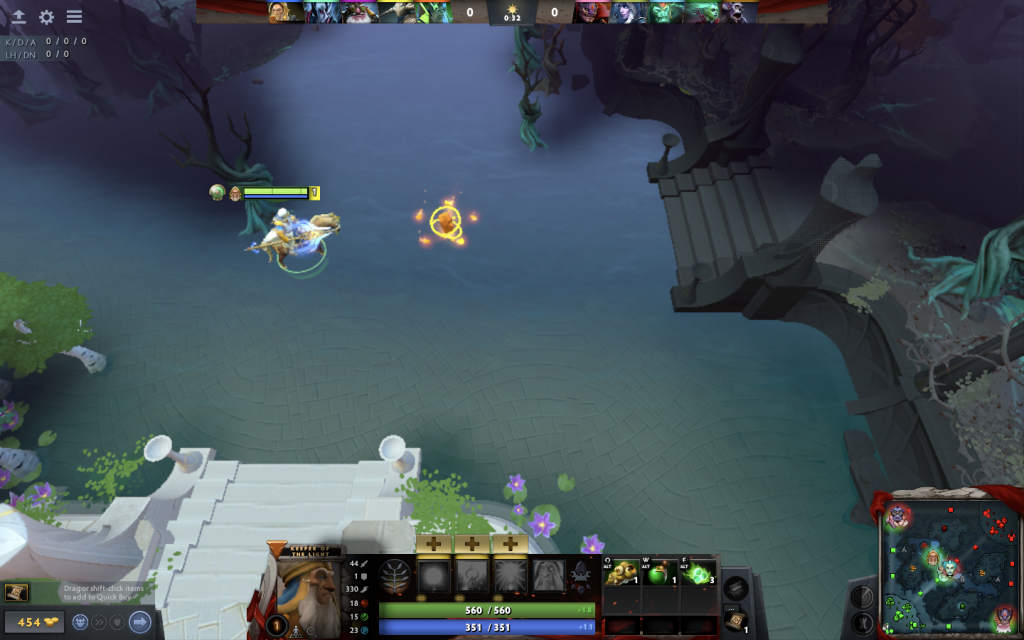
There are four bounty runes that spawn in fixed locations, both sides of the river in the middle of the two jungles divided by the middle lane. One more rune pops along the river that enhances combat abilities rather than gives you money. This power-up rune can appear randomly in one of six forms that give a specific effect:
- Arcane Rune – lessens cooldown and mana cost of all abilities by 30% for 50 seconds.
- Double Damage Rune – increases base damage by 100% for 45 seconds.
- Haste Rune – grants 550 movement speed for 22 seconds
- Illusion Rune – creates two weak copies of yourself that last 75 seconds
- Invisibility Rune – turns you invisible for 45 seconds, or until you attack.
- Regeneration Rune – heals 6% health and mana per second for 30 seconds or until an enemy hero hurts you.
It should be the carries that should take the power-up rune. Signal your laners about an existing rune. Take it or destroy it if you find an enemy hero closeby.
It will be a while before the safe lane carry can farm in the jungle. The mid lane and offlane may not leave their lanes for a moment. The early game will be a slow time for Utility Supports so you can go ahead and kill as many neutrals as you can. These money makers will be wasted if none of the carries can take them. Use the money you get for early utility items. You need to take items with aura effects or active abilities that also affect surrounding allies.

Essential Items to Start With
You may start most of your time away from enemies, but you are still a support. Not many Utility Support players worry about attributes in the beginning. Instead, mind your ‘utility’. You need to keep your abilities ready to spam early so take a Clarity Potion and a Mango. If you are using a melee hero, you will engage enemy heroes fairly early. Buy a Stout Shield for 200 Gold. This can also protect you from neutral camps while roaming. Block the enemies from last-hitting lane creeps with your own hero.
Take some Observer Wards for 50 Gold and plant them in elevated areas. Units’ sight can reveal lower and even areas but can’t see on higher platforms so avoid putting wards in the river bed.
Planting wards around the map can help you detect possible intruders. A particularly bold enemy carry might have allies waiting to engage in a clash. You won’t know your odds if you don’t take the time to put your eyes on your blindspots. Roaming for your allies could also be dangerous if the entire area is shrouded in darkness.
Early Game
As mentioned before, you can take the hard lane with the Offlaner at the start of the game. Roaming starts when you have an item that boosts your attack speed or increases your attack damage.
Different heroes can fulfil the role of position 4 using means unique to them. Some heroes are more offensive with consistent AoE damage like Techies. Stack up on mana restorations and press the enemy heroes under their tower.
Melee Strength heroes like Wraith King and Abaddon have abilities to target one hero at a time but have ways to deliver continuous damage that bullies the opponent off the lane or outright kill them.
Technically, pushing enemy forces under their tower is disadvantageous for you and your ally. All enemy units will gain +2 armour because towers have an aura that protects their allies. Instead of ‘push’ try a ‘pull’. Go around the back and meet the next wave of enemy creeps. Have all of them follow you then run towards your own lane behind your tier one tower to meet your own wave of lane creeps. Try not to approach neutral camps too close or these creeps will start fighting amongst themselves. This process is called ‘Pulling’ because you are ‘pulling’ the point of contact among creeps backwards to your side of the lane. Enemy heroes will think twice before they try to attack any of the clashing creeps unless they don’t mind taking damage from your tower. Deny your own creeps before going back in the lane to deprive your opponents of creep money.
Take a supply of Smoke of Deceit for 80 Gold. This can speed up your movement speed while also turning you invisible from enemy Observer Wards. Smoke of Deceit also hides you from True Sight ability of Sentry Wards.
Purchase Wind Lace for 250 Gold to get that added movement speed that helps you glide across the jungle. You should also consider building a Drum of Endurance as early as you can with the Wind Lace. This upgrade has a passive and active ability which increases attack speed and movement speed to all allied units, making ganks more efficient. You should have this item before mid-game which starts after the first 10 minutes of the game.
Mid-Game
Counter Ganks
Mid-game is when you either push or sustain lanes. Ganks will be frequent because both teams aim to take objectives. Never divide your forces on all three lanes. Always come in groups of three in taking down a tower. Monitor how many enemy heroes are present. If your teams are still trying to sustain all three lanes while some enemy heroes are missing from the map, you might result in a dead lane.
Anticipate which lane the enemy may gank. This could be a dangerous time to roam in the jungle if you have no Observer Wards to survey the area. It is usually the supports that bothers spending Gold on utility items so always check their inventory whenever they appear in the map. Always have a supply of Dust of Appearance for 180 Gold to counter invisible enemies. If you see Smoke in their inventory, prepare your Dust. Invisible units revealed by Dust will have a 20% decrease in movement speed.
Ganks
Now, if you want to be the one who ganks, never go to a lane alone. If you wish to take the Hard Lane, take the Solo Mid to the Offlaner. Join the Hard Carry and Hard Support should you wish to take the Safe Lane. The Mid-lane will be tricky because backups can come from anywhere.
Deciding which lane to gank depends on how well your laners bullied their respective opponents and how many heroes from either team are still alive. Talk to your allies about which one you should prioritize.
Items
It is rare to see heroes wandering alone at this stage, this is why you are expected to have your core items built before the time reaches 10 minutes. As the Utility Support, you are expected to have abilities and items that either help your team survive or secure a kill. You must be able to control a wide area.
Take Aura Items like Vladmir’s Offering which gives all allied units lifesteal. As for your Boots of Speed upgrade, I suggest taking Arcane Boots because this allows you to restore mana for yourself and allied heroes.
Being a ‘utility support’ refers to how much of your abilities can be shared. The entire team should benefit from your existence. Bloodstone is a great item that can keep you active. This item gives you +500 maximum health and +400 maximum mana. Health regeneration is +7 per seconds while mana regeneration depends on how much charge it has. Upon creation, Bloodstone starts with 14 charges which increase whenever an enemy hero dies near you. Your death takes away 3 charges but that doesn’t matter because you can expect enemy heroes to die more frequently than you do if you played your initiations right.
Bloodstone components are also good early game items if you value longevity in the field. Perseverance costs 1700 Gold in total. Jungle farming keeps you close to the Secret Shop where you can purchase Energy Booster for mana, Vitality Booster for health, and Point Booster for both. These are expensive but you can take just one in the early game and the rest for the mid-game.
Bloodstone’s real selling point is the Bloodpact passive ability and aura. Surrounding allied units, heroes or creeps, gain +25 per second health regeneration. When you die, each charge on your bloodstone decreases your respawn timer by 3 seconds per charge. This also decreases the amount of gold you lose by 25 per charge so you can keep more gold. You wait less and you get to save money!
Late Game
Clash
Late game is when either team aims to kill as many heroes as possible so they could take objectives uninterrupted. Your contribution to a clash is dictated by what abilities you have available and what your aim is.
If your hero is an initiator then you are expected to make the first move. This often includes a surprise, wide-area disable or damage. Affect as many enemies as you can then aim for the softest enemy hero, this is usually the Hard Carry. Taking down enemies one by one, starting with the heavy hitter is the most ideal scenario, but you can settle for the support if the hard carry is too tough or elusive.
If you are a disabler, take away the enemy’s chance at a counter by immobilizing their initiators, usually the Support and the Offlaner. Solo Mid heroes also tend to have AoE nukes like Shadow Fiend. Your job is to subdue the most dangerous unit so make your judgement based on what you know. If you think the Solo Mid is more dangerous, then focus your attention on one unit at a time. A disabled unit is as good as dead in a clash.
Extension and Situation Items
Shiva’s Guard is a defence item that slows down all surrounding enemies. Most players consider it a luxury item due to how expensive it is. The components are also not the kind of items you expect to have in the early game. Only buy this when you lack field control such as with heroes like Abaddon whose slow skill only works on one unit at a time.
You may consider buying more offensive items. You already have one support and most of your mid-game items can serve you well in the late game. The Scythe of Vyse gives +10 to Strength and Agility but a whopping +35 to Intelligence with +2.25 mana regeneration per second. This item can be activated to turn an enemy into a harmless critter which effectively disables them for 3.5 seconds. Use this ability at an enemy initiator.
As Utility, you cannot lose your abilities, especially in a clash. Refresher Orb costs 5100 Gold in total but the ability it comes with is worth every penny. This orb resets all cooldowns from your items and abilities, preparing you for another clash. This ability costs 375 mana, which is why you need mana boosting items.
Good Heroes to Start With
Spirit Breaker
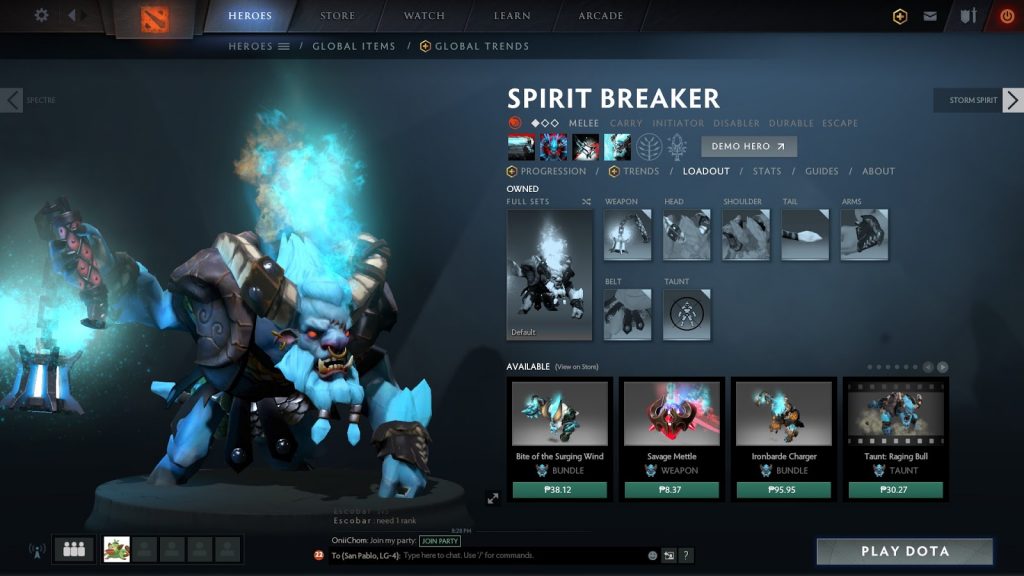
Spirit Breaker is literally an unstoppable force. Charge of Darkness sends Spirit Breaker off rushing towards a target from anywhere around the map, tearing down. Any units in the way will be hit with a Greater Bash, a passive ability that deals damage based on Spirit Breaker’s current movement speed and stuns and knocks-back enemies. Greater Bash has a 17% chance of working per basic attack, but effects are guaranteed with Charge of Darkness.
Spirit Breaker’s Bulldoze grants temporary increased movement speed and magic resistance. The increased speed works great in tandem with the Greater Bash. You can activate Bulldoze while rushing with Charge of Darkness to deal even stronger damage.
Charge of Darkness makes Spirit Breaker run straight towards his target. He can phase through trees and scale terrains with ease. If the target dies, Spirit Breaker will switch to the enemy unit closest to the initial target like a lane creep or another enemy hero.
Nether Strike is a finishing move that makes Spirit Breaker vanish and reappear next to his target, hitting them with a guaranteed Greater Bash and a massive bonus magic damage.
Due to the nature of Greater Bash and its reliance on movement speed, you may be tempted to build Yasha for Spirit Breaker. Most players consider the stronger upgrade Sange and Yasha a luxury item. Building Yasha mid-game may not be such a good idea. Go for Drum of Endurance, first, which also gives attack speed and movement speed.
Nature’s Prophet
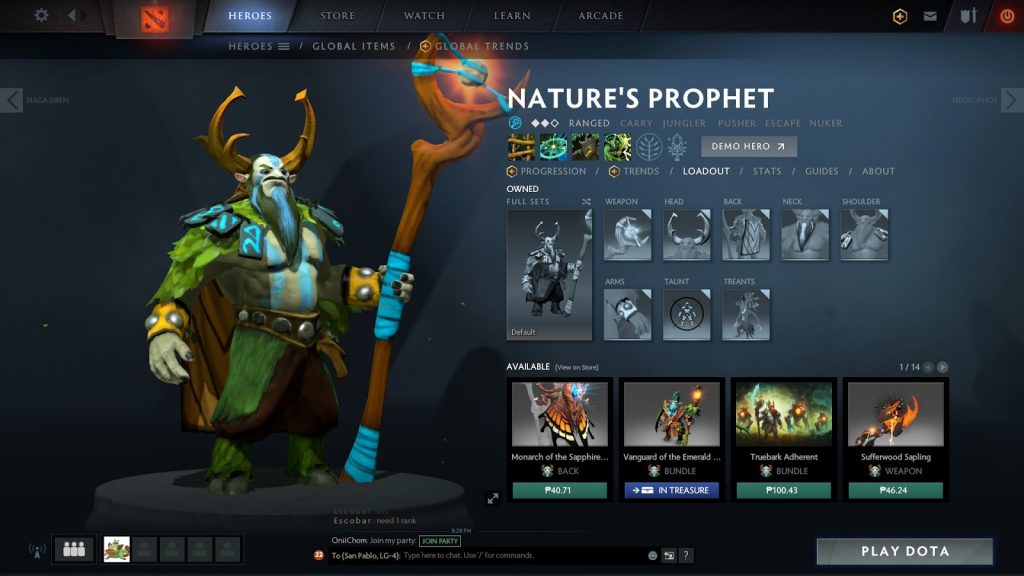
Nature’s Prophet is not necessarily a great late-game hero, but he is considered one of the best early game and mid-game heroes due to his unbelievable farm potential and map coverage. You can start to jungle medium camps with Gloves of Haste for attack speed and two Clarity Potions. Take the ability Nature’s Call which creates two treants out of trees. These are creeps you can control to fight for you. Have these fight against creeps so you don’t take any damage. You can summon even more treants as soon as the cooldown is done. Don’t take treants early to the lanes because the death of these creatures rewards enemies just like any other creeps.
Nature’s Prophet can hop around the entire map with the second skill Teleportation. This handy ability only costs 50 mana. This allows you to rotate between lanes easily. Sprout is an ability that surrounds a target with trees, disallowing them from passing through. You can use sprout to block narrow niches in an attempt to corner an enemy or flee from pursuers.
Wrath of Nature is a flash of powerful chain lightning that can be cast on any enemy present in the map. The energy surge bounces towards another enemy unit close to the initial target, each bounce deals stronger each target hit. Up to 18 targets can be hit with Nature’s Prophet’s ultimate ability.
Vision is one of Nature’s Prophet’s necessities so you can spend some gold on Observer Wards. Beside’s Wrath of Nature, you won’t have any other offensive abilities. If you wish to play carry, focus your build towards attack speed and attack damage. Taking the Hand of Midas will greatly improve your early farm ability, though stats are not good for the late game so consider selling it by mid-game.
Abaddon
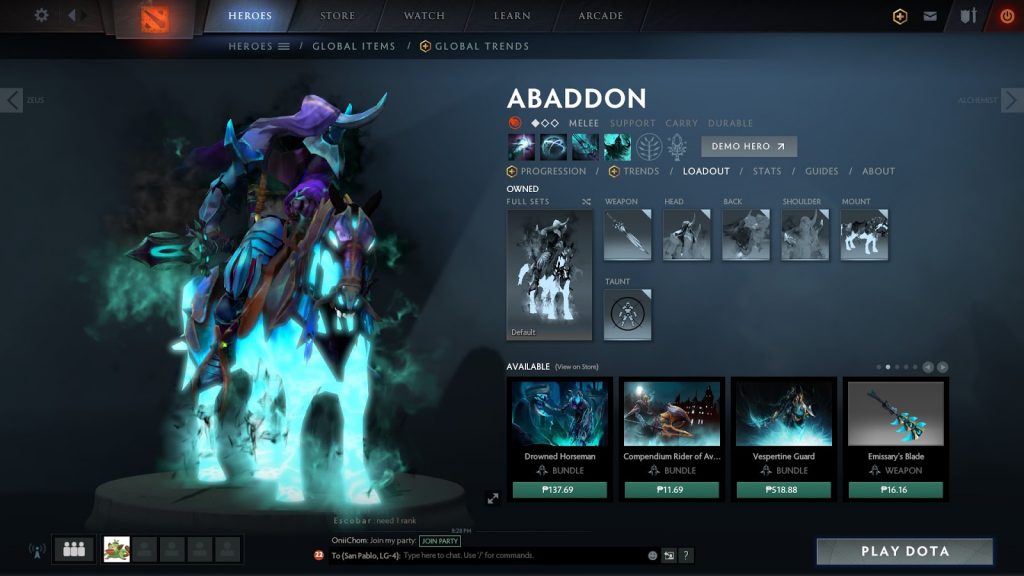
Each of Abaddon’s abilities can play in either offensive or defensive purposes, given the circumstances. Mist Coil can either heal an ally or hurt an enemy at the cost of Abaddon’s own health. For 50 mana and a few health points, you have an instant ability that can either harass enemy heroes or sustain an allied carry. The high self-damage also gives Abaddon the option to kill himself, robbing enemies of the rewards that come with a kill.
Aphotic Shield grants a target ally a forcefield that absorbs a limited amount of incoming damage. It will explode when the absorption limit is reached or after 15 seconds. Surrounding enemy units will take the same amount of damage stored by Aphotic Shield. This ability is most helpful in a clash because debuffs or any other negative effects active on a target will be purged away.
Curse of Avernus is a passive ability that slows down the movement speed of an enemy Abaddon is attacking. Landing 4 consecutive hits will be affected by ‘chilling curse’ debuff that takes away the ability to cast spells temporarily. Attacking the cursed enemy grants attack speed for anyone, making Abaddon more lethal in a group.
Borrowed Time is the only ability that Abaddon can cast on himself. When activated, all input that should hurt will heal Abaddon for the same amount, instead. This ability can also activate on its own when Abaddon’s health falls below 400 points if not in cooldown.
Core items for this hero include Arcane Boots and Vladmir’s Offering for more effective lane sustainability. Taking Aghanim’s Scepter early gives Abaddon’s much-needed stat boosts as well as a prolonged duration for Borrowed Time.
Techies
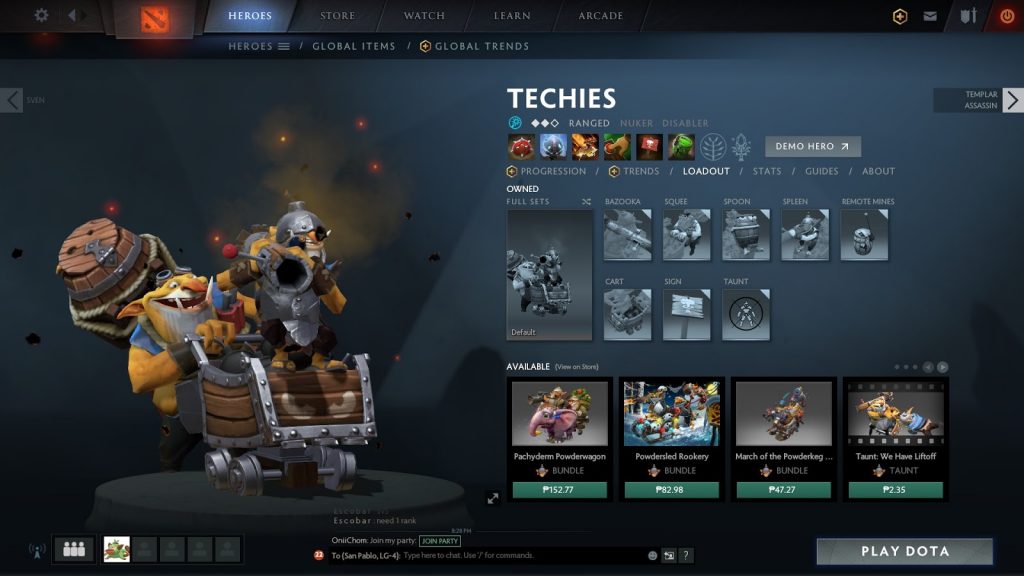
Nobody likes Techies. Correction: Nobody likes to fight against a player that uses three goblins who love to blow everything up. Three of the abilities available to you are invisible explosives, the other being an explosion that almost always makes Techies kill themselves.
All of Techies’ traps are invisible, but Proximity Mines are hidden even from True Sight abilities. Nobody can hope to see where these high-damage bombs are until they are within activation range. There will be a 1.6 seconds delay between reveal and the actual explosion, but not many have reflexes fast enough to move away from the blast range. Proximity Mine damage pierces Magic Immunity.
Stasis Trap can be seen with True Sight, but its effect is instant and the effect range is farther than Proximity Mines. This trap does not deal damage but roots victims for a short moment.
Techies’ ultimate manifests in the form of Remote Mines, invisible bombs that can be stacked together or hidden in any corner of the map. You can detonate multiple bombs at a location. Focused blasts have the potential to kill enemy heroes instantly. Remote Mines can’t explode if enemies destroy them. You can detonate any Remote Mine from anywhere in the map for no mana cost so feel free to blast away.
Techies can fling themselves onto a target hero with a volatile container then explode on impact. This deals high damage to all enemies within range and to Techies themselves. Death from this ability halves Techies’ total respawn time as well as denying the enemies of money and experience brought by their own death.
Techies’ bombs cost high mana to activate so stack up in mana focused items such as Arcane Boots, Bloodstone, and Soul Ring. Aghanim’s Scepter can supply enough of Techies’ Attributes while also making Remote Mines more potent. If you wish to deal bigger damage, consider items for Intelligence.
Wraith King
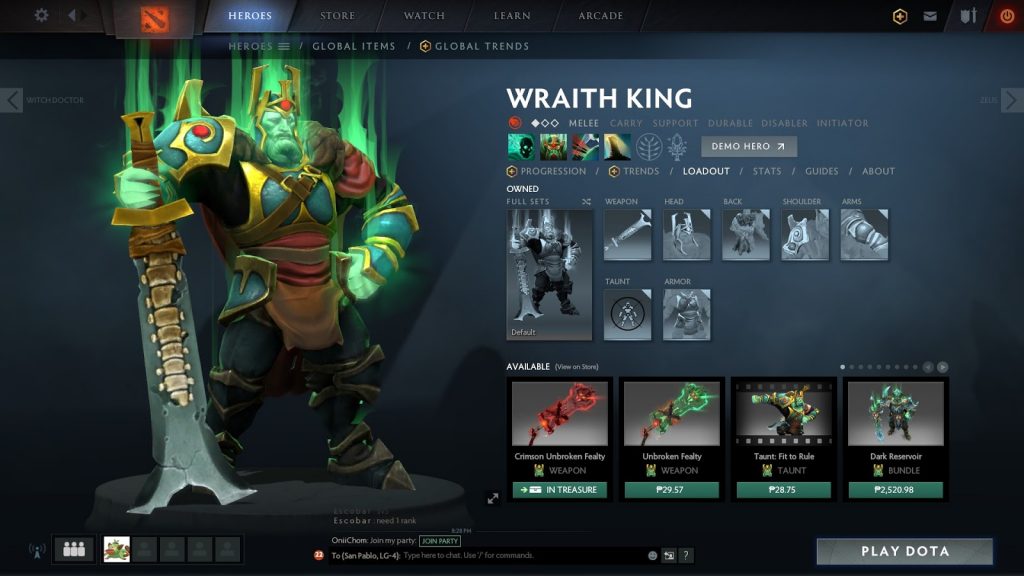
Survival will be the least of your worries if you take the already dead king of the undead. Wraith King has one of the highest base health in the early game and fairly simple abilities to think about.
Wraithfire Blast deals initial magic damage at a target, stuns them for a second or so, then applies overtime magic damage. This short while is enough to cancel an enemy’s casting process. Match that with Mortal Strike which summons a skeleton per charge. Charge increases by 1 for every 2 units killed by Wraith King.
Wraith King’s Mortal Strike is also a passive that grants a chance to deal bonus damage per attack, similar to a Quelling Blade. In fact, take a Quelling Blade as a starting item to help Wraith King be a more effective last hitter. The charges only increase by Wraith King’s successful last hits, which is just perfect while you are roaming. Summoning Skulls also hastens the farming process.
Wraith King’s Vampiric Aura gives all allied melee units lifesteal. This does not work for himself but it works perfectly well in tandem with his skeleton units. The skeletons brought by Mortal Strike will attack anything close to them and cannot be ordered to do anything else. You can direct their attention at a single target with Wraithfire Blast. A focused onslaught from all these melee units can be lethal to even the most durable hero.
Speaking of durability, Reincarnation revives Wraith King at the very spot he died. Enemies surrounding your hero’s fallen remains will be slowed upon his reascension, giving you time to attack them in return.
Health is a renewable resource for a man with two lives. Take the Armlet of Mordiggian which gives its bearer a +31 damage, +25 strength, and +4 armour at the cost of 54 health per second. You can turn off this buff and settle with the item’s base stats of +9 damage, +25 attack speed, and +4 health regeneration per second.
Even without the revival, Wraith King is fairly hard to wear down. Give him a Blade Mail to return the damage your attacker is giving. In the event that Wraith King dies while the enemy lives, Wraith King can just return with Reincarnation and kill the attacker himself.