A brief look over the battlefield
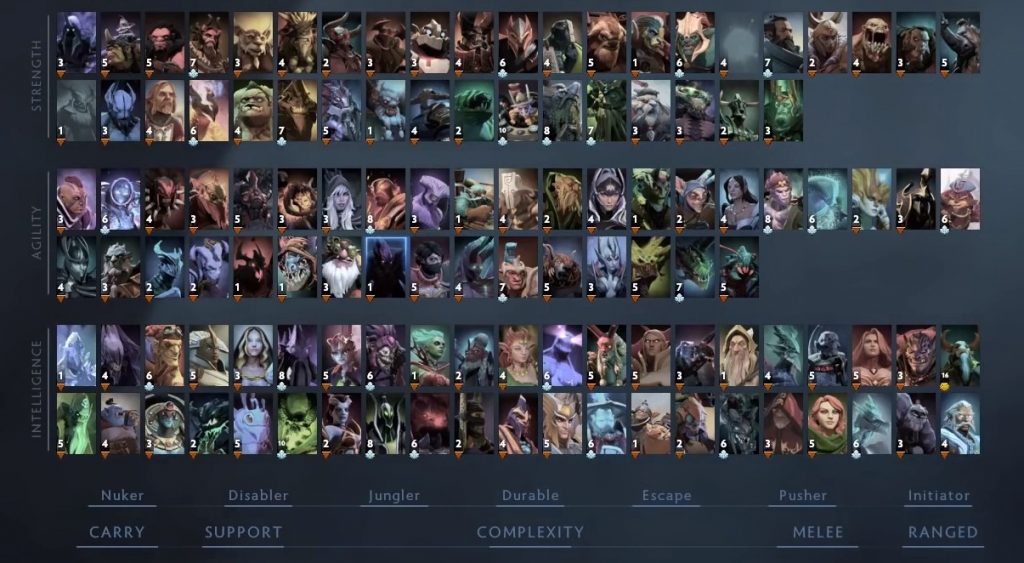
Defence of the Ancients 2 (DOTA 2) Massive Online Battle Arena released exclusively for the desktop platform because the mouse and keyboard are vital for its gameplay. Each match will need five members on each team. These groups can be drafted randomly or assembled between friends. Once the players have matched up, each individual will choose one hero out of one hundred and seventeen free to play characters.
The Battlefield
All heroes are free to choose unless under two special conditions:
- In competitive match such as rank games, both parties will take turns in choosing which hero to ban. Banned characters cannot be played by any player from either team.
- Only one of each hero can exist per match. A hero that was already selected by somebody else, friend or foe, cannot be chosen by another player.
Basic Controls
DOTA 2 makes use of the point and click capability of the desktop mouse. This is inspired by classic desktop games that are isometric in nature such as the source used to create the first DOTA mod, Blizzard’s Warcraft III.
Almost all command in the game can be given using the mouse, but the keyboard is what gave the game its high speed and high stakes gameplay. Your knowledge of keyboard hotkeys dictates how fast you can act or respond against enemy initiations.
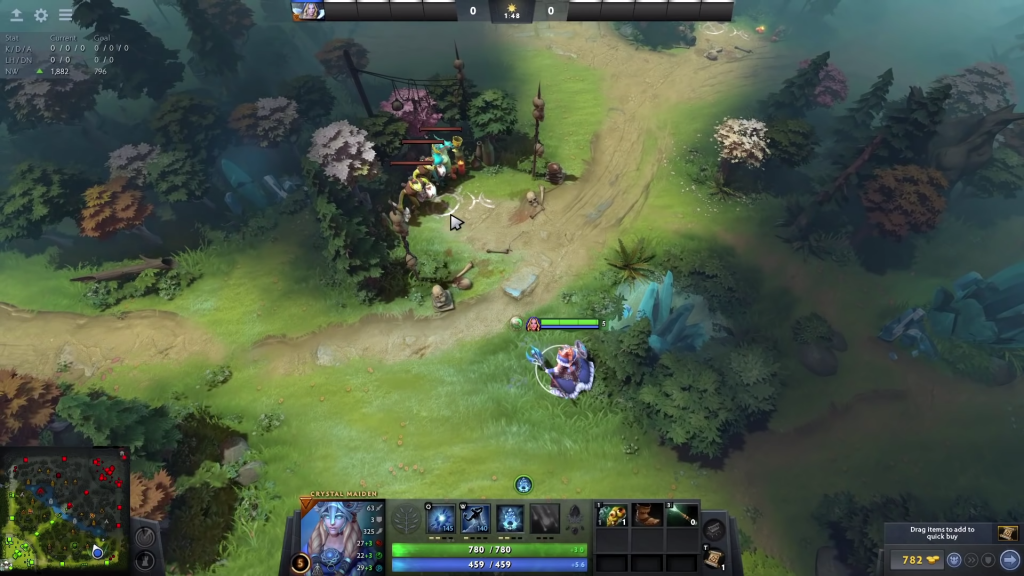
Unit Selection and Controls
Some heroes will have the ability to control units other than your own avatar. The item Helm of the Dominator has a special ability that lets any hero take control of an enemy creep. These cases will require you to cover more ground or create a self-sustained synergy that greatly helps you fight. Phantom Lancer can create multiple clones
The Left Mouse Button is the selection tool. Point your cursor to a unit then left-click. Selected allied units will glow green outline surrounding the body and red if it is an enemy. Selecting a non-controllable unit such as allies and enemies will let you see that character’s stats and weapon build. Always gauge your quarry before you engage in combat. Losing a fight will only cost you and your team.
Hold down the left click then drag the cursor. This creates a box that will allow you to select multiple units at once. Multiple units selected can be controlled simultaneously. When using this tool on a group where your unit is mixed in with other units that you do not own, this tool will only select your own unit. This is handy when you can’t find your character in the middle of a class.
To select or deselect controllable units one by one from the group you wish to control, hold down the Ctrl button then click the left mouse button on each unit. This allows you to easily manage your group.
The Right Mouse Button is an action button to some degree. Right-click on the ground to command your selected units to move towards that point. Right-click on an enemy unit to issue an attack or click on an ally to follow that unit. You can right-click on dropped items and runes to have your character take it.
If you like to have your unit take actions one after another in the order that you desire, hold shift then click right or left button on each target. Your unit will attack or interact with your targets in the order you clicked on them.
Camera
You can scroll both horizontally and vertically across the entire map by dragging your cursor to the edges of your screen. Holding the middle mouse button will grip the area, allowing you to move your view around with better control over the camera. You can also click on the minimap with the left mouse button to move your camera to that area, giving you coverage over far off distances.
The directions pad will also move around your camera. You can adjust the camera movement speed at the settings. Your control over the camera can affect how well you can respond to situations so tweak your settings to match your preference.

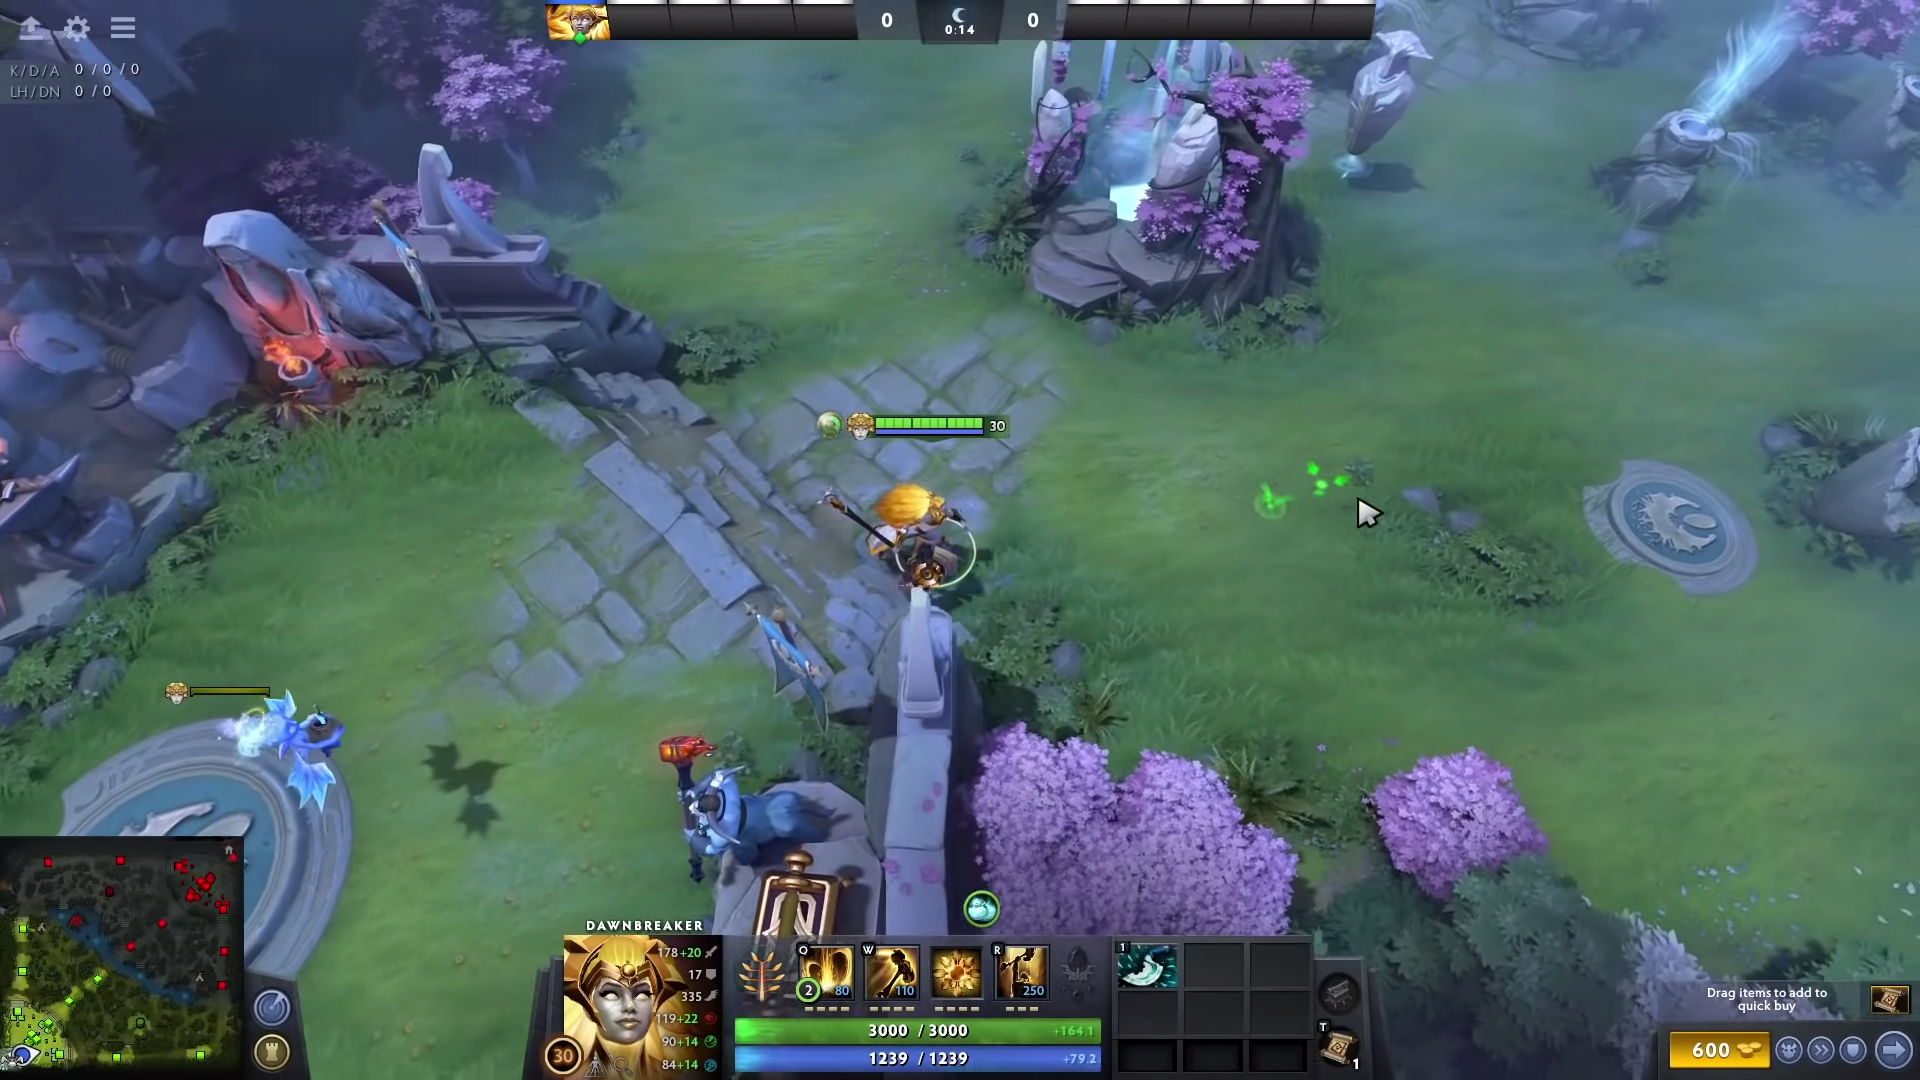
Heads-up Display [HUD]
DOTA 2 is a fast-paced strategy game. Every bit of information will be vital to the plans you make. The heads-up display shares important information such as inventory, stats, the gold you have, minimap, and skills.
As a game about micromanagement, learn what makes each information presented to you so important in the scheme of the game. Understanding the numbers and icons will shape how you see this video game and the nuances between allies and enemies.

Skills and Abilities
Each hero has four unique skills that dictate what role they play in the entire game and in each individual match. Understanding the nature of their skills will help you act more fluidly in battle. Learning the capabilities and limitations of each hero will help you use them wisely or counter them efficiently.
The first three abilities are base skills and the fourth is the ultimate. You can select one of the four skills each time you level up. Most heroes can get their ultimate when they reach level 6, but others can get theirs under different conditions.
In casting spells, most players set the default to quick casting. The ‘quick cast’ allows the skill used to work immediately and it is aimed wherever your cursor is when you tapped the skill button. Without ‘quick cast’, using a skill will change your cursor into either a cone, a large circle, or a reticle. To activate the skill, click the left mouse button on your desired target. Self-targeted abilities or ones with a fixed distance will be activated without the consultation of the cursor.
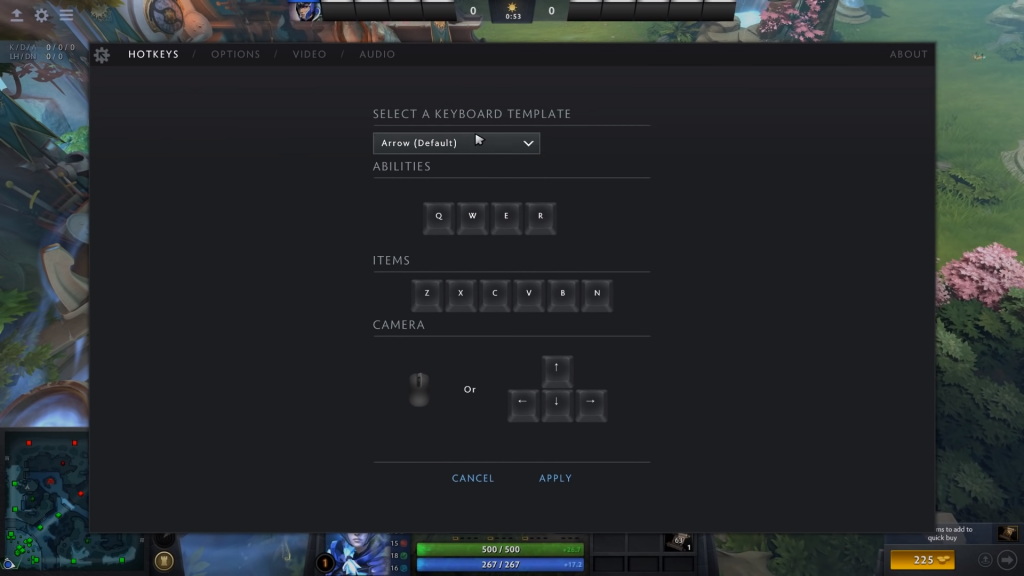
You can set your hotkeys before you start playing. Traditional DOTA from Warcraft III: The Frozen Throne gave individual heroes their own set of hotkeys because the skills are set on letters of the skill name. One such case is Invoker whose Ultimate, Invoke, is available all the time.
For newer players who have not played since the first game, DOTA 2 took inspiration from League of Legends by Riot Games. The simpler button mapping includes QWER for each of the hero skills: Q for the first skill, W for the second skill, E for the third, and R for the ultimate.Some heroes can have a more complicated set of skills that breaks conventional keymapping. Shadow fiend’s first skill uses Q, W, and E to adjust the distance of his first skill. Invoker uses the same keys to summon elemental orbs that dictate what skills he can ‘invoke’ with the F button. Invoker does not have an ultimate so R is spell 1 while D is spell 2.
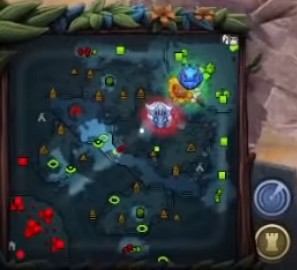
Map Layout
Take notice of the minimap on the lower right or left corner of your screen. You will find that you are fighting in a large, square plot of land divided diagonally by a river. One side of the river is lush with green while the other is bleak and with leafless trees.
The Radiant and The Dire
The mostly dead, top right corner of the area lies the base of the Dire. The bottom left corner and centre of the verdant landscape is the base of the Radiant. Two opposing teams will be assigned to either side of the arena. The goal of the game is to destroy each other’s Ancients, the largest structure in each base.
Structures
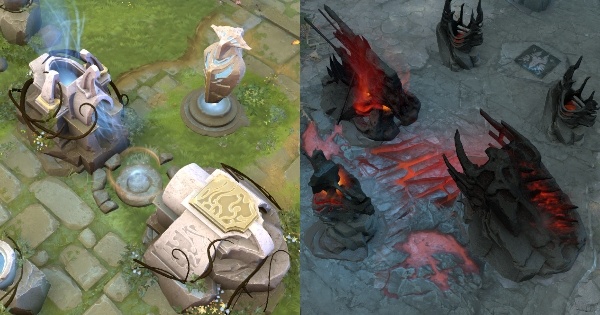
The map is a square evenly divided at the centre by a diagonal river. There are three roads connecting the Radiant and the Dire. Along these roads are defensive towers to stop creeps and heroes from progressing. Each tower leading up to the Ancients are stronger than the ones closest to the river.
There are other buildings that can be found within each base. These are shields protecting the Ancient. You cannot damage a building until the one before it is destroyed, the same rule applies to towers. You cannot damage a Tier 2 Tower until you destroyed the Tier 1 Tower in the same lane.
Towers
Each team has three Tier 1 Towers, the weakest defensive structure closest to the river. Following that are three Tier 2 Towers, deeper into the enemy territory. Each of the three entrances of both bases has Tier 3 Towers standing guard. There are only Tier 4 Towers and they are right next to the Ancients, close enough to protect each other from enemy units.
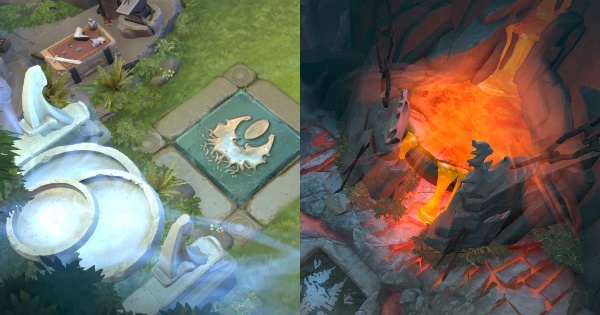
Barracks
Barracks are the large structures you can find before the Tier 4 towers. Destroying these buildings will offset the balance to your team’s favour by enhancing your team’s creeps, turning them into Super Creeps. Wreaking havoc in the enemy territory is the main objective of the game, the rewards you acquire hastens the endgame.
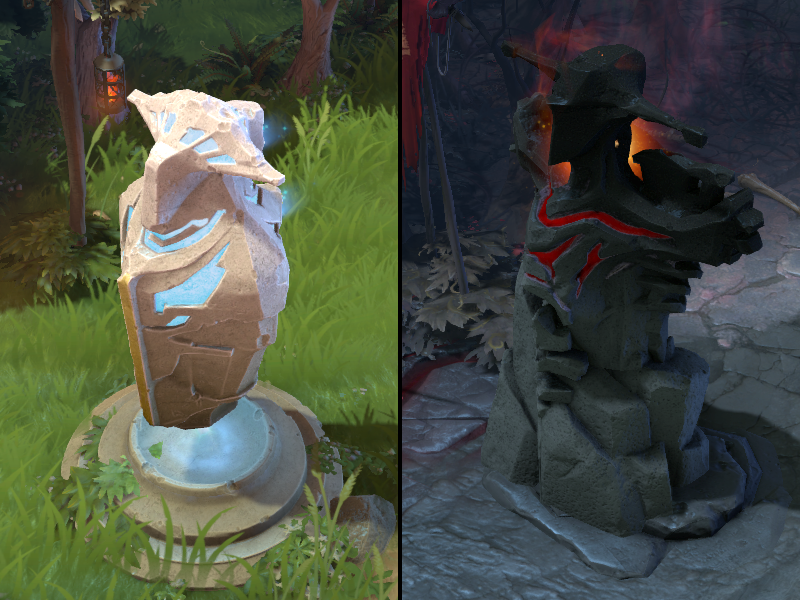
Fountains
The water fountain found at the point where your hero spawns is the strongest structure in the game. These things provide rapid regeneration to all allied units’ health. Enemy units that ever tries to get close will have their health drained just as fast as it heals you. The fountains are the only structures that are virtually indestructible. The abilities are meant to protect recovering heroes from further harassment.
Fun fact, it was possible to completely destroy the fountains in older patches of DOTA 1 for Warcraft III: The Frozen Throne. That rendered the losing team completely helpless because they lost the healing properties and offensive protection of the base.
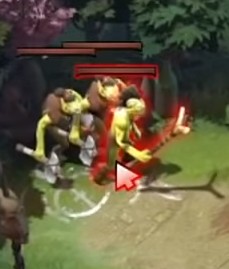
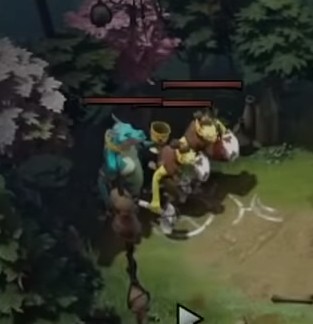
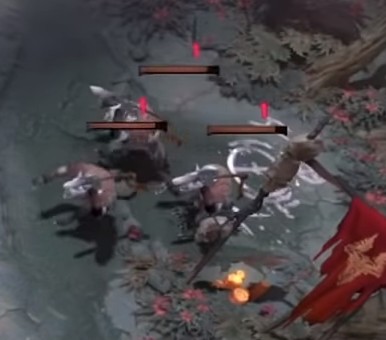
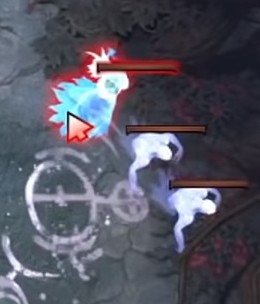
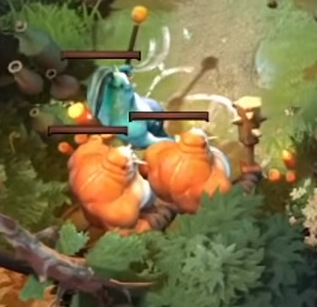
Small Camps
Kobold Camp
Speed Aura from Kobold Foreman
– Aura –Increases the movement speed of allies and self
52 – 67 Gold
113 Experience
Hill Troll Camp
Heal from Hill Troll Priest
– Active – casts 15pt heal onto a target repeatedly until mana is depleted Mana Aura from Hill Troll
– Aura – provides mana regeneration to allied units nearby
59 – 68 Gold
99 Experience
Hill Troll and Kobold Camp
Speed Aura from Kobold Foreman
– Aura –Increases the movement speed of allies and self
60 – 71 Gold
99 Experience
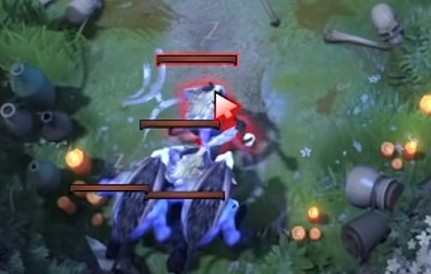
Vhoul Assassin Camp
Envenomed Weapon from each unit
– Passive – Inflicts venom that deals 2 damage per second for 10 seconds (hero) or 20 seconds (creeps)
60 – 72 Gold
99 Experience
Ghosts Camp
Frost Attack from Ghost
– Passive – inflicts slow on targets hit by regular damage
62 – 74 Gold
116 Experience
Harpy Camp
Chain Lightning from Harpy Stormcrafter
– Active – Casts electric damage onto a target and a hostile unit closeby and onto another. Each transfer loses power.
71 – 81 Gold
116 Experience
Medium Camps

Centaur Camp
Cloak Aura from Centaur Courser
– Aura – protects allies from magicCentaur Conqueror
– Active – Stomps the ground, stunning and hurting surrounding enemies
69 – 81 Gold
128 Experience
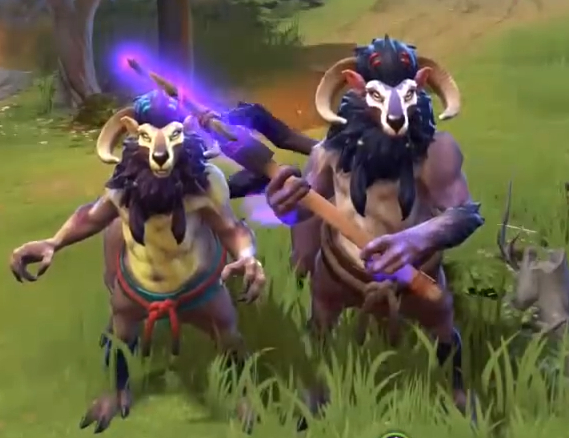
Wolf Camp
Critical Strike from Alpha Wolf
– Passive – Increases own chance to inflict critical damage
Packleader’s Aura– Aura – Increase own and allies’ base damage.
66 – 78 Gold
170 Experience
Satyr Camp
Purge from Satyr Banisher
– Active – removes positive status effects from enemies or negative ones from allies.Mana Burn from Satyr Mindstealer
– Active – target unit loses some mana receives damage based on mana lost
68 – 80 Gold
166 Experience
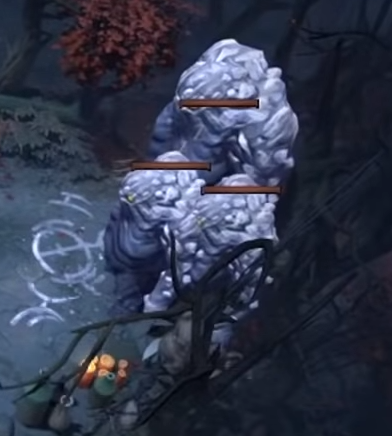
Golem Camp
Hurl Boulder from Mud Golem
– Active – Damages and stuns target unit from a distanceShard Split from Mud Golem
– Passive – Mud golem turns into two small shard golems upon death
80 – 106 Gold
140 Experience
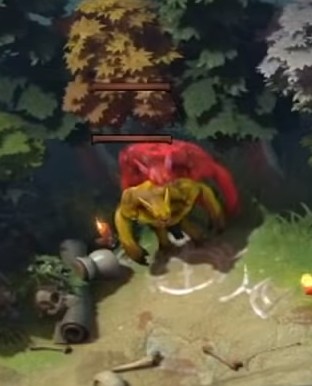
Ogre Camp
Ice Armour from Ogre Frostmage
– Active – target unit gets increased armour and slows down enemies surrounding the receiver
64 – 112 Gold
116 Experience
Large Camps
Large Centaur Camp
Cloak Aura from Centaur Courser
– Aura – protects allies from magicCentaur Conqueror
– Active – Stomps the ground, stunning and hurting surrounding enemies
85 – 100 Gold
161 Experience
Large Satyr Camp
Purge from Satyr Banisher
– Active – removes positive status effects from enemies or negative ones from allies.
Mana Burn from Satyr Mindstealer
– Active – target unit loses some mana receives damage based on mana lost
Shockwave from Satyr Tormenter
– Active – unleashes a forward shockwave, damaging all units it passes throughUnholy Aura
– Aura – Grants nearby allies and itself regeneration
93 – 113 Gold
178 Experience
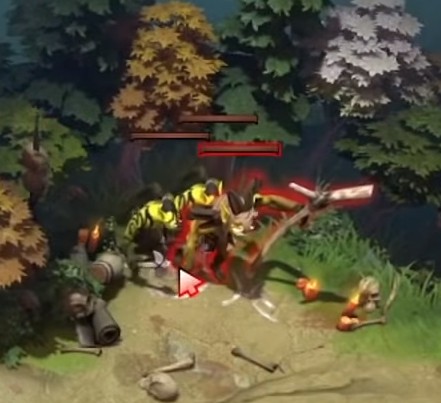
Hellbear Camp
Cloak Aura from Hellbear
– Aura – protects allies from magic
Thunder Clap from Hellbear Smasher
– Active – creates a shockwave damaging nearby enemies and pushing them back and slowing down attack speed and movement speedSwiftness Aura from Hellbear Smasher
– Aura – Increases attack speed for itself and nearby allies.
97 – 114 Gold
156 Experience
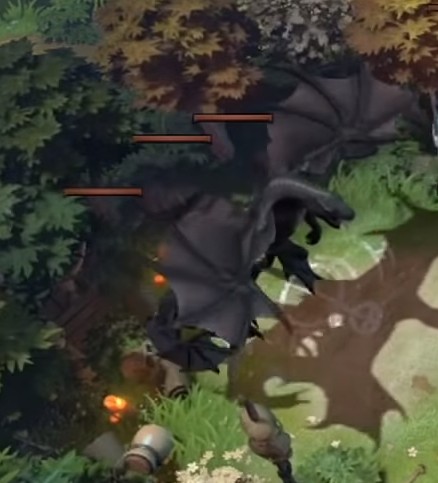
Wildwiing Camp
Tornado from Wildwing ripper
– Active and Channeling – It can create a tornado that hurts enemies and slow down their movements. Wildwing Ripper can’t move with the Tornado active.Toughness Aura from Wildwing Ripper
– Aura – It gains increased defence bonus and grants nearby allies the same
78 – 102 Gold
135 Experience
Troll Camp
Ensnare from Dark Troll Summoner
– Active – Tosses a net that roots a target unit. The affected unit cannot move from its place but can still attack. Channelling abilities can be disrupted by ensnaringRaise Dead from Dark Troll Summoner
– Active – Two Skeleton Warriors rises from the ground. These undead will fight for your side.
97 – 126 Gold
208 Experience
Ancient Camps
Dragon Camp
Fireball from Ancient Black Dragon
– Active – ignites an area in flames, hurting enemies within the circle.
Splash Attack from Ancient Black Dragon
– Passive – each basic attack also hurts enemies surrounding the targetDragonhide Aura from Ancient Black Dragon
– Aura – increases own and nearby allies’ defence. Multiple units with Dragonhide Aura can stack effects.
160 – 203 Gold
224 Experience
Large Golem Camp
Granite Aura from Ancient Granite Golem
– Aura – Increases total health capacity of all nearby allies.
156 – 178 Gold
314 Experience
Thunderhide Camp
Frenzy from Ancient Thunderhide
– Active – buffs ally unit by increasing the target’s attack speed
War Drums Aura
– Aura – Increases attack speed and attack damage of all nearby allies.Slam from Ancient Thunderhide
– Active – creates a shockwave, dealing damage to surrounding enemies and slowing down movement speed and attack speed.
152 – 173 Gold
314 Experience
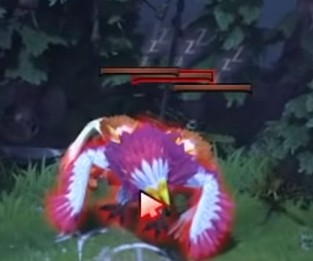
Prowler Camp
Desecrate from Ancient Prowler Shaman
– Active – creates a shockwave, dealing damage to surrounding enemies and reduces their defences Petriy from Ancient Prowler Shaman
– Autocast – causes next attack to root enemies.
168 – 191 Gold
195 Experience
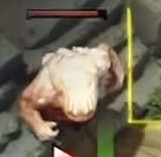
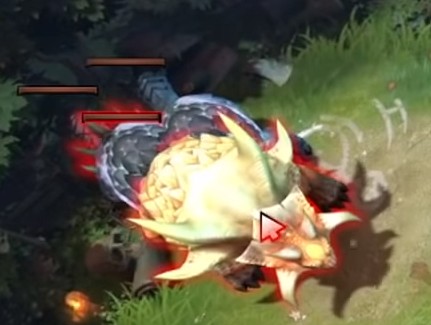
Roshan
Roshan grows steadily with the length of the match. Roshan is the only Neutral crypt that will never be replaced from his pit.
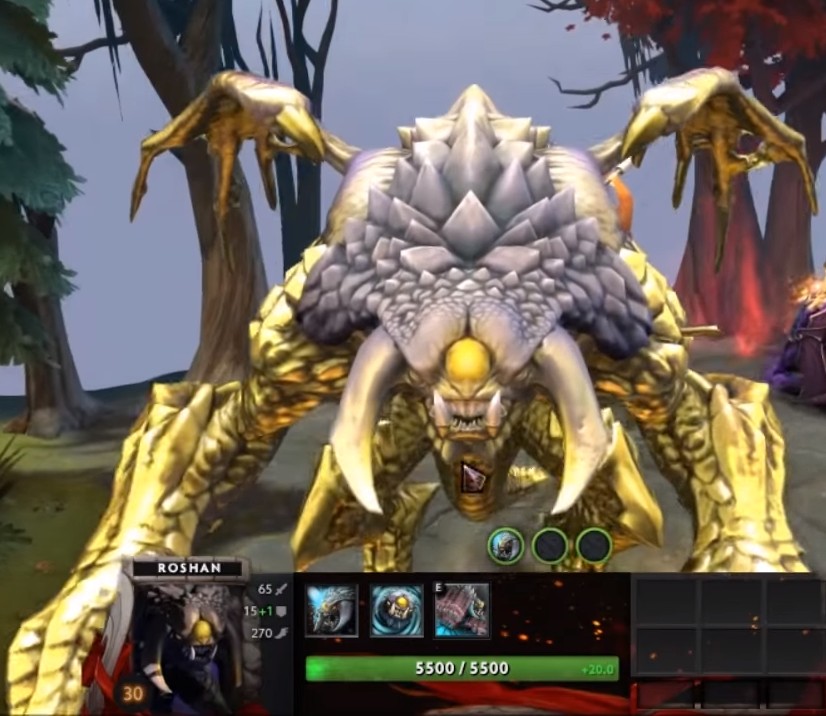
Spell Block
– Passive – Negates one spell from enemies every 15 seconds
Bash
– Passive – gives itself a chance to stun an enemy with the next basic attack.
Slam
– Active – creates a shockwave that damages surrounding enemies and slows down movement speed and attack speed. Damage increases per minute spent in the match.Strength of the Immortal
– Passive – protects Roshan from magic damage, attacks from clones or illusions. This also increases Roshan’s armour per minute spent on the match.
225 – 325 Gold + 150 Gold to each allied heroes
400 Experience + 20 more experience per minute spent in the match
Items and Inventory
Your hero’s growth will not be the only factor to help you win. Part of the challenge in DOTA 2 is filling up your inventory with items to use when necessary or boost your stats to make you the ultimate hero on the battlefield. The items that give you a massive stat boost will help emphasize your hero’s abilities. Some items will give you new abilities that work just like normal abilities.
When purchasing items, you will find them in one of three places, the inventory, backpack, and the stash.
Inventory
Your inventory contains all the items you carry with you that you can use at any time. All attribute items will give you additional stats. Some will have passive and auras. Upgrading your stuff will give you stronger stats and will take up less space than carrying all dismantled pieces.
Stash
The stash is where items go when your inventory is full. The physical location of the stash is in your base. You can have the courier deliver your items for you or you can get them yourself.
Backpack
You can carry three more items with the Backpack. You can place valuable items here and switch between weapons on the fly for versatility. None of the things in your backpack are active, meaning you will not get the benefits of the items you carry like attributes, active abilities, or auras.