Hard Carry Basics
DOTA 2 is a Multiplayer Online Battle Arena where you can play with friends or strangers online. Hop into a public server and join a group of 10 people per match. Each match is divided into two factions, each made of 5 people. The factions are the Radiant and Dire.
DOTA 2 – Hard Carry – Position 1
Both sides have five members, therefore the game has five positions. Each position shall be filled by one player. No position should be left unfilled, nor should two players play the same role. This game is a team fight. Talk with your team and plan your lineup. Your disagreement will cost you the match, and by extension, your rank in the game as a whole.
Push your lane. Deal massive damage or pick off the enemies little-by-little. Right now, you will learn how to play Position 1, the Hard Carry.
Goal
The goal of the game, in general, is always to destroy the enemy Ancient. If you want to be effective in your role, you must have a clear view of what you are expected to do. As a Hard Carry, your goal is to grow quicker than the enemy’s own Hard Carry. Develop your damage as early as possible.
Your duty is to earn money so you can build your core items early. Earning Gold involves killing creeps and heroes. Dying takes away unspent Gold so try not to get yourself killed. Never rush-in without support or guarantee that you will survive a clash.
As the hard carry, you will be expected to be the best killer in the team. Never act on your own. From the beginning of the game, you will be accompanied by Hard Support, otherwise known as ‘the babysitter.’ Don’t let that term throw you off. The key mechanic of this tandem is to raise you into becoming the perfect killer while protecting you from any harm. DOTA 2 is balanced in a way that heavy damage dealers are generally easy to kill. Also because you are expected to have a high damage output, your money will be heavily focused on your offence rather than defence.
The support roles exist to fill up your need for defences and field control. As one who is expected to be the team’s killer, stay behind or beside your allies.
Tactics
You now have the gist of your position. Essentially, that is enough for anyone to start playing and figure the rest as they go. Do not be deceived by false confidence. Always assume that your enemy knows about this. The server can set you up against another novice just as likely as you can meet a professional who made a new account for kicks and giggles.
Maybe you are playing with your friends who are novices. You decided to play privately against A.I. to ‘test the waters’ before you set foot into the big world? DOTA 2’s computer controls may be simple, but they also follow the rules to progress the heroes properly.
DOTA 2 is not a game about ‘growing stronger’ with ‘hard work’ and ‘determination’, this is a game about proper planning and creativity! Time is of the essence, every second you waste on thinking is a second wasted in growing. Think on your feet, or follow a predetermined plan. What you do next is as important as what you are doing right now.
Basics
The map is divided into factions, the Radiant and Dire. Three roads, called lanes, connect the two opposing forces. The middle lane has equal distance distribution of towers, but the side lanes do not. Instead, there are safe lanes and offlanes which is determined by the distance of the Tier 1 tower to the centre of each lane.
Tower Hugging
The lane with the tier 1 tower closer to the point in which the creeps meet is the safe lane. This is where you and your valet are assigned. Your safe lane is the enemy’s offlane and vice versa. The same advantage works for the opposition on the other side of the map. If you are playing for the Radiant, your safe lane starts at the bottom of the map then upwards to the Dire territory. From the Dire’s perspective, the top lane is the safe one.
You may be wondering: ‘but mr. stranger on the internet, isn’t one of our jobs to protect our towers and destroy the enemy’s base? If so, then shouldn’t we be far from the tower as possible?’ Good observation but you read the picture backwards, my young padawan. The towers are there to protect you, not the other way around.
The towers provide aura buffs to raise your defence while you are within range. The immobile structure also has a long-range of attack with fairly quick attack speed. These two features discourage many players from attacking heroes too close to the towers.
Creep Blocking
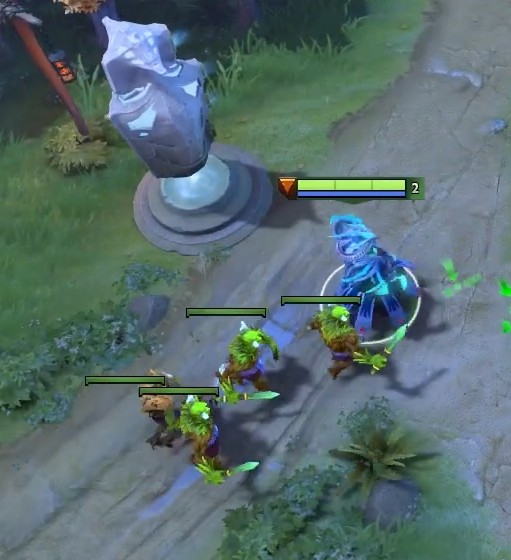
As soon as the game starts, place your avatar to the entrance leading to your lane. Don’t go straight to your tier 1 towers. Wait for the creeps to spawn. Noticed how the little critters will try to move around you? That’s because DOTA allows units to be blocked by units and other things. Stand in front of the mindless marching soldiers to block them. By doing this, the creeps are forced to move around you, prevent that by walking little by little towards the middle of the lane.
If you block your creeps correctly, you can guarantee that the fight will start close to your tier 1 tower. Letting your tower attack gives you the advantage of easily killing enemy creeps. You will earn money and experience faster than the enemy hero.
Farming
Remember how I told you that in order to earn money and experience faster is by killing? I don’t mean you should kill heroes. In fact, try not to pull off any stunt against the enemy players so early in the game. Focus on picking off enemy creeps because the mindless critters are your main source of gold and growth.
As a Hard Carry, you will be heavily dependent on your farming ability. FARMING refers to the act of taking money from killing creeps. Most of the money goes to whoever kills the target. Letting your ally kill a creep is fine because they can use that money. Letting another creep steal the kill wastes a few good coins that absolutely determines when you can buy the items you need.
Character Growth
Each hero in DOTA 2 roster have attributes labelled STRENGTH, AGILITY, and INTELLIGENCE. Each attribute affects how a character is played or what kind of role it is expected to play for the entirety of the match. Each point of an attribute converts into the following base stats:
- Each point in Strength is equal to 20 points in maximum health, 0.1 point in health regeneration, and 0.08% magic resistance.
- Each point in Agility is equal to 0.16 point in armour, 1 point in attack speed, and 0.05% multiplier for movement speed.
- Each point in Intelligence is equal to 12 points in maximum mana, 0.05 points in mana regeneration, and 0.07% multiplier in spell damage.
Did you miss ‘attack damage?’ You didn’t. While every hero has all three attributes present, each hero has one ‘Primary Attribute’. Strength, Agility, and Intelligence will grow along with a hero’s level, but the primary one will have more points than the others.
Your hero’s attack damage is converted 1-to-1 directly from the primary attribute.
If you want to play the Hard Carry, you will want to have a high damage output or quick successive attacks. Agility is favoured for this role, but that’s not always the case. Sven, the rogue knight, has a natural ability to damage multiple creeps at once which makes farming as well as a bunch of utilities which we will cover later in this article.
Items to take in your inventory
Not many people mind what to bring so early in the game, given that you will not have many options with your small budget in the first place. At the start of the game, you will have only 600 Gold. Two things to consider are your attributes and healing items.
I know I said something about primary attributes but buying items for just that part of your hero will leave you little room for versatility. Buy a Circlet for 165 Gold or two Iron Branches for just 100 Gold. The Circlet will give you +2 on each of your three attributes. The Iron Branch gives +1 that’s why everybody takes two. But to determine which one should you favour, ask yourself what you wish to build when you get the money?
People who buy Iron Branch plans to make the item called Magic Wand, Headdress, and Buckler, none of which are useful to you as a Hard Carry.
Take the Circlet because this is a component of any of the three early game attribute items. See your hero’s primary attribute and set your eyes on either Bracer for Strength, Wraith Band for Agility, and Null Talisman for Intelligence, each item costs 515 Gold in total considering all. All three upgrades will have another component that bolsters one attribute by +3 for 135.
You may ask, ‘Why don’t I just build those upgrades and start with good Attributes and high attack damage? You did say Attack Damage is important.’ Actually, some do. Thank you for thinking that way, you should also consider how much you can get for your Budget. You also have to purchase restorative items like Tango.
If you build an early game upgrade for 515 Gold, you get +6 In your primary Attribute and +3 in the other two. Plus, the Bracer gives +5% multiplier for your primary attribute, Wraith Band gives +5 Attack Speed, and +3% Spell Amplification. For the small price of 515 Gold, you have great offensive capabilities! You will have 85 Gold left, just enough to buy a consumable item called Faerie Fire which gives you +2 attack, giving you more offensive capability. What’s more, you can consume Faerie Fire to heal 85 health instantly.
To recap, if you have an early game upgrade and Faerie Fire, you gain a good coverage over your other stats with a +3 and +6 for your primary attribute. We’ve covered that 1 point of your primary attribute is 1 point to your attack, add that with Faerie Fire. you have a whopping +8 attack for 600 Gold on your starting build! That’s good, right? It is, but you only have one instance of healing for 85 points of health, not to mention that once Faerie Fire is gone, you’re back to just +6. Good luck surviving your lane until you get to buy a proper healing item.
I can hear you saying ‘Well, you mentioned that as a Hard Carry, I have a Hard Support whose job is to keep me alive! If I die, that’s the support’s fault!’ They are ‘support,’ not miracle workers! As a Hard Carry, always expect the enemy offlaner to keep harassing you away from the creeps and you can’t grow if you don’t kill anything. The support’s job is to drive enemy offlaners away from you but I guarantee you will always be the target.
Consider this thought: +8 Primary Attribute, +2 for your other attributes and three instances of healing 115 health.
There is another consumable called Tango that costs 90 Gold. It comes in 3 charges per purchase so you can heal three times. Each use heals a total of 115 health. It will not be instant like Faerie Fire, but healing over time is all you need, given that you want to stay away from harm anyway.
Remember the early game upgrades you want? Only buy the components except for the recipe. The Circlet gives you +2 in all attributes and the other component will give you +3 in one of three attributes. If you want Bracer, the other component is Gauntlets of Strength, if you want Wraith Band, you can get Slippers of Agility, for Null Talisman, it’s Mantle of Intelligence. Buy one Circlet for 165 Gold, and two of the other component for 135 Gold each.
Now you have a Tango for 90 Gold, one Circlet for 165 Gold, and two attribute items of your choice for 270 Gold. That’s a total of 525 Gold for +8 Primary Attribute, +2 Other stats, and 3 chances to heal yourself! That remaining 75 Gold can be used to buy an Observer Ward or save it so you can build your Early Game inventory sooner!
Just farm on your lane and stay alive. The next time you visit the shop, just purchase the recipe along with your other Early Game necessities!
You thought this was the early game? Not at all. The game lasts a minimum of 1 hour per match, others take 2 hours or more given how flexible DOTA can be by the late game.

Early Game
We have covered the basics in the starting game. Most of your practices from the start carry over until the match is done. The aforementioned basics are applicable to any hero in the game, no matter what role you wish to play because that was just the setup. The Early Game begins when players finally got their upgrades and armaments or when a hero is killed. First Blood is expected to be carried out by either the first three positions, including you. As the Hard Carry, try your best not to be the first to die. Death takes away some of your unspent gold, throwing you back off your farming pace.
The pace will start picking up and you will find yourself needing to leave your lane. Push the creeps back to the enemy tower, then leave with your Hard Support to farm in the jungle. The jungle is the shrouded territory in your map, beyond the trees. You can find neutral camps inhabited by creeps unaffiliated with neither the Dire nor the Radiant side.
If you’re fighting for the Dire, the first camp you should strike is the patch of easy enemies closest to your tower around the top of the map. If you are with the Radiant, creeps of the same level can be found close to your tower at the bottom of the map.
Jungle creeps give away more gold and experience than lane creeps. Plus, you do not have to worry about timing your last hit because no allied units are close. You also shouldn’t worry about your hard support because it is one of their responsibilities to let you get the kills as much as possible.
As the Hard Carry, you will be given top farm priority. That means if any of your other allies saw you farming a camp they also want to take, it is in their best interest to leave you alone. Your position grows with the items you build. The more money you take, the easier it is to secure your team’s winning condition.

Mid Game
Around the mid-game is where you should already have your core items.
While Early Game items vary between roles and lane type, Core Items are more suited to what hero you are using. This helps best optimize your hero’s full potential and playstyle. Players will often look under the Artifacts category for core builds because these are common components for items under the categories Caster, Armour, and Weapons.
Tier 1 towers are most likely destroyed by this point. Either team’s carries are now more aggressive in taking kills, so should you. Play it safe. Make use of your supports’ abilities. Always communicate with them. Their role is to control the enemy movements and exhaust their options. Your job is to kill them one by one before your own team gets exhausted.
The supports’ job is to help you survive, but it’s your job to end the clash quickly. Pick off your enemies one at a time. Never waste time and resource trying to damage everyone at the same time. One less enemy is one less chance for them to fight back.
If you find yourself on the other side of the scale, break-away as much as you can. Do not play the martyr of coming back for your support. If the enemy focuses on your babysitter whom you befriended in the span of 15 minutes, they are doing their job properly. Let me stress again that you are the Hard Carry. The last thing that your team needs is a Hard Carry with less money and more death counts.
If you can secure a kill, go for it. If you are unsure with the situation, step back, hide, run if you have to. Never start trouble with two or more heroes if you don’t have at least one backup.
Hard Carry heroes generally have great mobility and good evasion capabilities.
If you are lucky, the fight can end at Mid Game with players only requiring core items, but that only works if the opposition decides to play with no items at all.
Don’t rush it. Push your lanes then jungle for a bit. If you see at least three enemies in the map pushing one of your lanes, let your Offlaner and Utility Support handle them. You stay in one lane and push against the enemy tower. Runaway once you see them vanish from your minimap because that means they are coming for you.
If you are in the team playing defensively, take the Hard Support to face the enemy team from the front. Before you clash, contact the Offlaner or Utility Support to position themselves from behind the enemies. When in position, have either Support to initiate the clash and set the field. Move-in and prioritize your attacks onto the enemy Hard Carry if present, Solo Mid if not. In a group fight, take out the enemy supports first.

Late Game
This is the time either team have acquired versatility in playstyles. As a Hard Carry, your main focus should be your ability to kill as quickly as you can, but you can also adapt defensive items in the form of evasions or immunities. In this case, Eul’s Scepter of Divinity and Linken’s Sphere both have the ability to save you from any lethal, unexpected blow.
Your attack prowess is no longer focused on creeps. Killing heroes is now more of a defensive mean than a need to earn money or experience now. Your goal is to destroy enemy buildings and end the game as soon as you can.
Your build can be extended into upgraded forms of your core build, or you can adopt an unexpected item to your arsenal to keep the game fun. Killing Roshan is more of a sport now than a mean to change the battle.
You don’t need to come with your support anymore. You can push lanes solo. In fact, the best course of action is to have your allies distract the enemies in a clash while you take the enemy towers. Do mind that a buyback is an option in DOTA so as soon as they die, they can immediately respawn and face you. As soon as someone dies, run towards a lane closest to your allies and push together.
That is about all that I can say. The late-game vary between hero combinations and how the mid-game played out. This is where you can get creative and just enjoy the game the longer it drags on. No better time to play around than a standoff.
Five Good Heroes to Start With
Alchemist
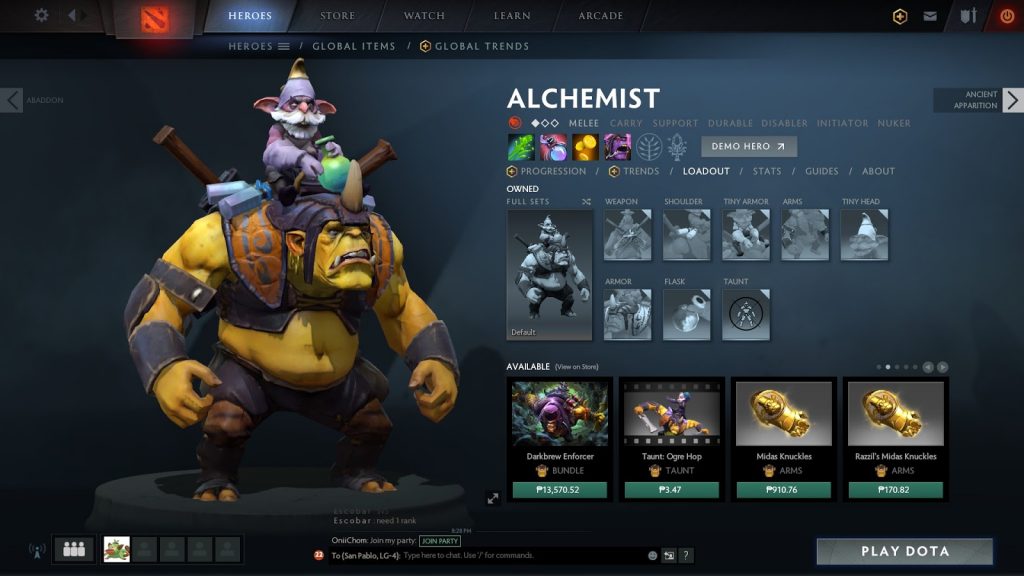
Alchemist can grow rapidly in the early game due to his passive ability. Greevil’s Greed adds more reward money to your kills, whether it’s an enemy hero or a creep. This also multiplies what you get from a bounty rune for over 3 times the usual amount!
Alchemist also has a good field coverage with Unstable Concoction, an AoE stun that deals a fair amount of damage. The first skill, Acid Spray, also affect a wide area which lowers enemy units’ armour and deal small damage per second.
Using the ultimate, Chemical Rage, greatly increase attack speed and movement speed as well as huge regeneration for both health and mana.
Anti-Mage
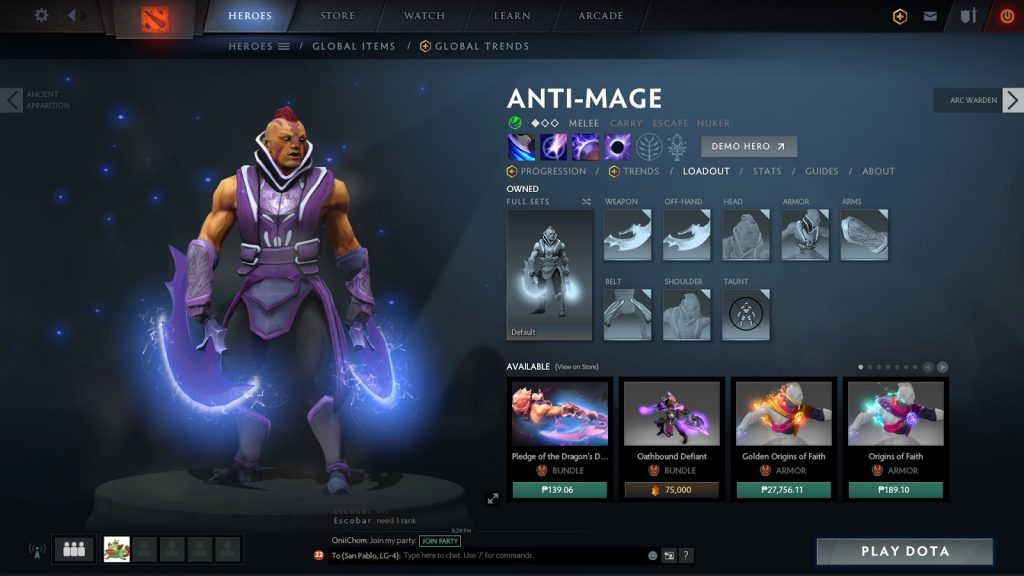
Anti-Mage’s overall design is all about close-quarters combat with enemy heroes and press them into submission. The skill Mana Break burns away enemy mana with each strike, removing their abilities, therefore, limiting enemy options. Blink instantly teleports Anti-mage to a limited distance, great for escaping, chasing, or repositioning. Spell Shield minimises incoming magic damage, and Mana Void deals damage equal to the target’s missing mana.
It may be tempting to use Anti-mage against Intelligence heroes, but he is most potent against Agility heroes that rely on skills. This is because Agility heroes tend to have a smaller mana pool but use their abilities in quick succession.
Phantom Assassin

Phantom Assassin shares Anti-Mage’s mobility and affinity for close range combat. The first skill, Stifling Dagger, gave her a huge range and ability to slow down enemy movement when hit. This dagger throw skill also takes advantage of Phantom Assassin’s item build, buffs, and even her ultimate. You can move in and out of battle with Phantom Strike which teleports you to any unit, friend or foe. When you teleport to an enemy, Phantom Assassin gets a bonus attack speed and strikes several times immediately as soon as she appears.
The passive ability Blur allows Phantom Assassin to evade enemy attacks. Another beautiful feature with Blur is how Phantom Assassin completely disappears from enemy’s minimap when she’s nowhere near an enemy hero. That means, you are safe to push lanes when the opposing team is distracted in a clash somewhere else.
Her final skill, Coup de Grace, will be your bread and butter for mid to late game as it gives you the chance to dish out a massive critical damage capable of instantly removing an enemy hero from the clash.
Wraith King
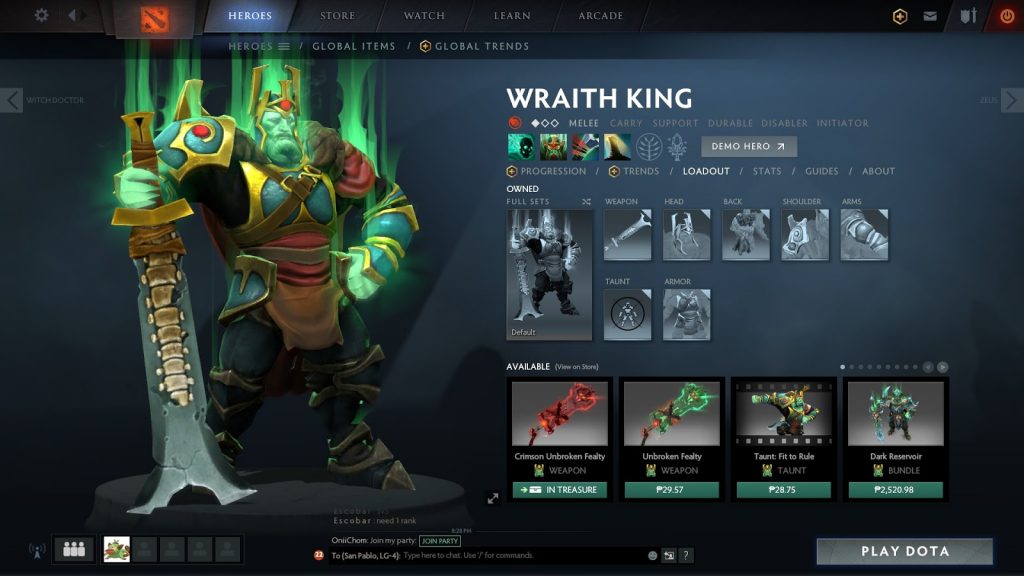
If you are not confident with your survivability in combat, try a tanky hero. No other Carry deals quick combat damage and lasts long in the battlefield like Wraith King. His ultimate is Reincarnation which revives as long as he has enough mana before dying. Wraith King being a strength hero makes him considerably hard to kill, but that ultimate means he has to be killed twice.
I mentioned that you can deal continuous damage with this hero, but the successive hits won’t be coming from your mighty sword. Wraith King’s third ability is Mortal Strike. Each attack has a small chance to deal bonus damage, allowing you to farm better. Every two units you kill applies one charge for this ability. Activate Mortal Strike to summon skeletons that will attack any enemy units nearby.
You can direct the skeletons’ attention by using Wraith King’s Wraithfire Blast. This fireball deals damage, stuns the target, apply a burning that deals damage over time, and slows down movement once the stun wears off. All skeletons will surround the burning target and attack with melee damage.
As if this hero’s innate health and Resurrection ability wasn’t enough, Wraith King can also give all friendly melee units, including himself, lifesteal using Vampiric Aura. This gave Ostarion versatility and longevity even during the early game.
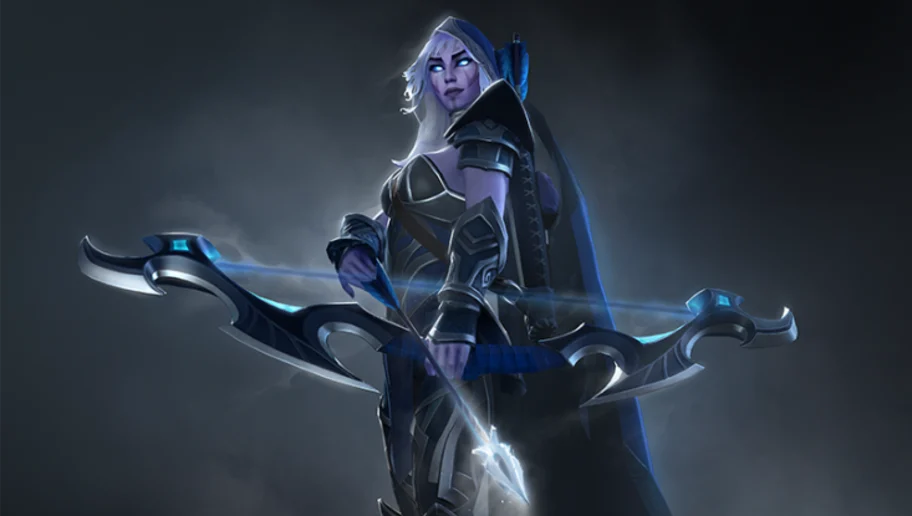
Drow Ranger

If you think learning about combos is daunting, then try one of the most straightforward hero ever! Drow Ranger can be simple, but she is by no means weak. In fact, her long range, quick attacks, and armour piercing ability is feared by anyone throughout the match.
Drow Ranger’s first skill applies freezing effects on her arrows which slows down enemy movement. His ability can be toggled so you don’t have to worry about cooldown. Careful not to use it on all of your attacks. As an Agility hero, Drow Ranger has a small mana pool.
Gust is an ability that pushes back and silences enemies within 900 units. Silence lasts from 3 seconds to 6 seconds, enough time to land a few attacks. With Drow Ranger’s innate attack damage and high critical value, that short time is all you need to kill a hero.
Precision Aura shares Drow Ranger’s agility to all allied ranged heroes’ attack speed. Activating this ability allows creeps to also benefit from the aura.
Drow Ranger’s ultimate, Marksmanship, grants her a huge boost to attack damage and critical chance. When farming creeps with no enemy hero within 400 units away, Drow Ranger can instantly kill creeps instead of dealing critical damage, letting you farm faster or push the lane more efficiently.